Views
In addition to the default View, you can create custom Views in some workspaces. A custom View changes the data shown in the workspace window, allowing you to display and report data in different ways. Custom Views are therefore very useful when you need to create detailed Management Reports. Views are saved on your local machine, and they apply only to the workspace you are using when they are created.
Custom Views can be created in the following workspaces:
All Views can be accessed from the Tasks menu in the workspace.
Click on a view to apply it to the page.
Adding or Editing a View
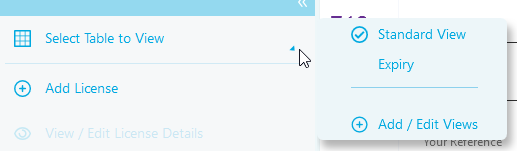
- Click Select Table to View.
- Click Add / Edit Views. The Edit View window appears. This window is the same for both the Add and Edit options.
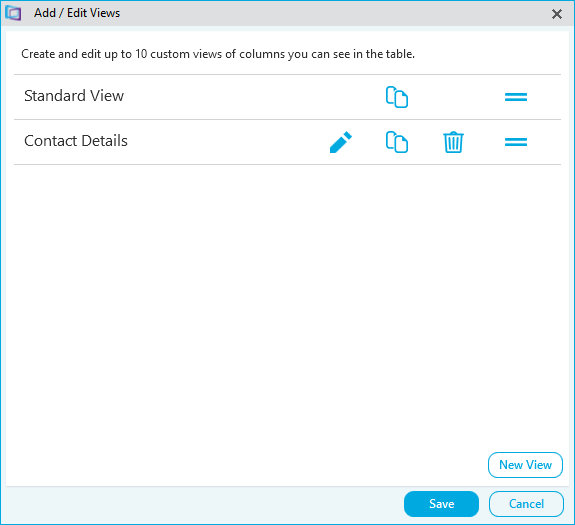
- Click the edit icon to edit the view.
- Click the copy icon to create a copy a view. The New View window is displayed with a copy of the settings from the original:
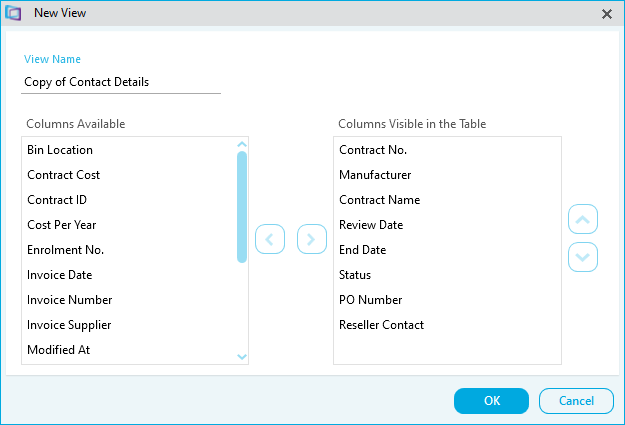
- Rename and edit the settings
- Click OK.
- Click the delete icon to delete the view.
- Click and drag the move icon to re-order the list.
- Click New View to create a new view:
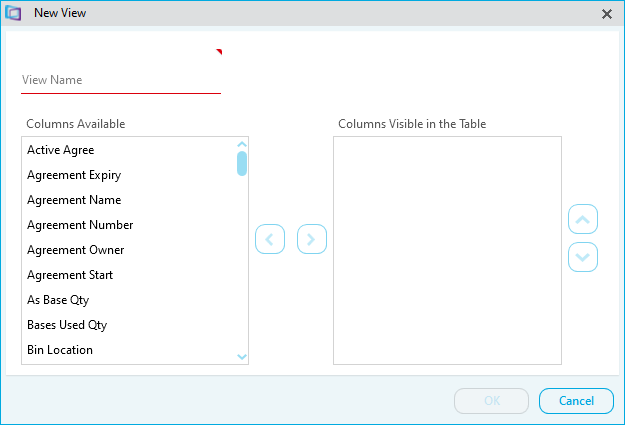
- Type a View Name
- Click a column name and an arrow to add it to or remove it from the Columns Visible in the Table list. Repeat this until you have set all of the columns for the view.
- Click OK.
Please note, adding a view also saves any filters applied to the data before clicking add.
- Click Save to save the changes.